ZW3D Training – Lesson One
Setting Up the Interface
Download a 30 day fully functional Integrated Evaluation Copy of CAD/CAM ZW3D and follow along.
For more information or to download ZW3D
ZW3D has a couple of simple environment options that have to set before you start using the product.
One Object per File (New Files)
ZW3D default setting is to be like all of the top selling systems, that have separate part, assembly and drawing files. I found this to be a nightmare for PDM. I will focus on the Multi-Object Environment since it is probably new to you.
Multi-Object Environment
ZW3D has an optional setting called the Multi-Object Environment. Where you have all the top assembly, sub-assemblies, parts and drawings in one file.
This is advantageous when creating assemblies, you can design the parts separately or in context or top down design. I have done this from the beginning of CAD. If you have a simple product with one designer, you can do it in one assembly. But if you have a complex assemblies and you can have external associated sub-assemblies or parts. It is quite different than what many of you are used to, but is much more flexible.
When you bring up ZW3D, at the very top there is a small blue arrow, select it, it will expand the menu, go to utilities>configuration and unselect “one object per file”.
I only work in this mode, now you can have external files, it is up to you.

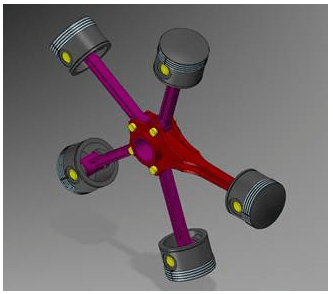
Here is an example of the top assembly, sub-assemblies, parts and drawings to help you make your decision.
In this example of the multi-object environment, I show ZW3D compared to Catia. Catia creates 30 files and ZW3D creates one.
ZW3D vs Catia Lesson 3 Assembly
User Role
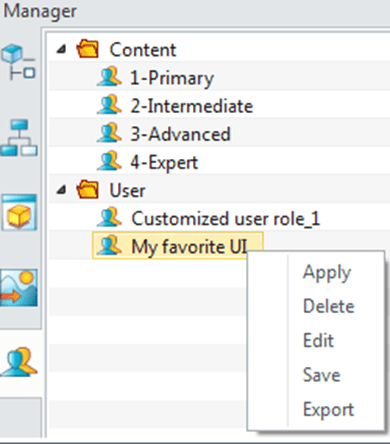
The Role Manager is accessed from the ZW3D Data Manager. Enable the Data Manager from the Tool menu and then select the Role Manager tab. Use the Role Manager to manage stored roles. It is composed with two parts, one is the Standard Roles section, and the other is the Custom Roles section. A set of roles are pre-defined in the Standard Roles, including the primary role, intermediate role, advanced role and expert role, which cannot be edited or deleted. The Custom Roles section displays the stored roles created by user. You can edit it.
More than likely you will use the expert mode. You can try each role and see how it limits the the options on the role of the user.
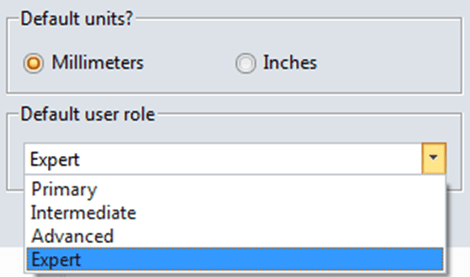
User role is used for storing the setting of the Interface, hot keys and mouse actions. Choose a default user role when running ZW3D for the first time.
You are now ready to using ZW3D.
Here are the basic Tool Bars and functions you will be working with.

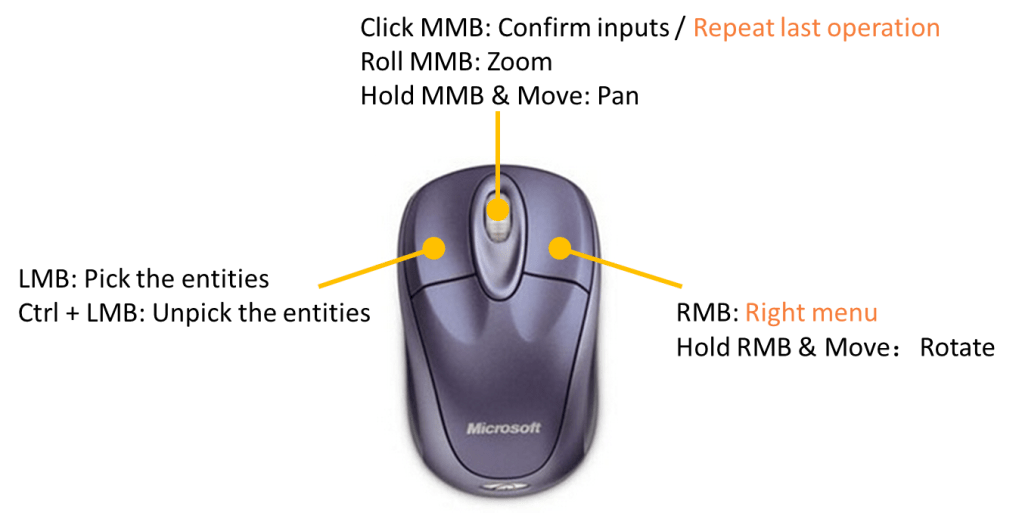
ZW3D Mouse Actions
Multi-object File— Default File Management
Multi-object file name will be *.Z3.
One Z3 file can hold many different types of objects, such as parts, assemblies, drawing sheets and CAM plans.
You will use this often in the future. Opening parts, sub-assemblies, Drawings and others.
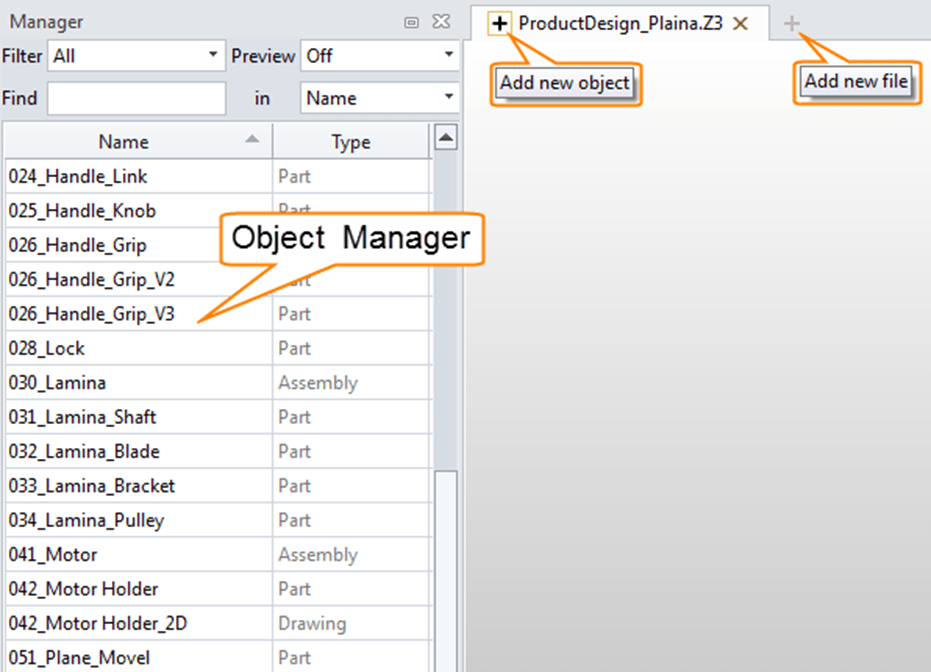
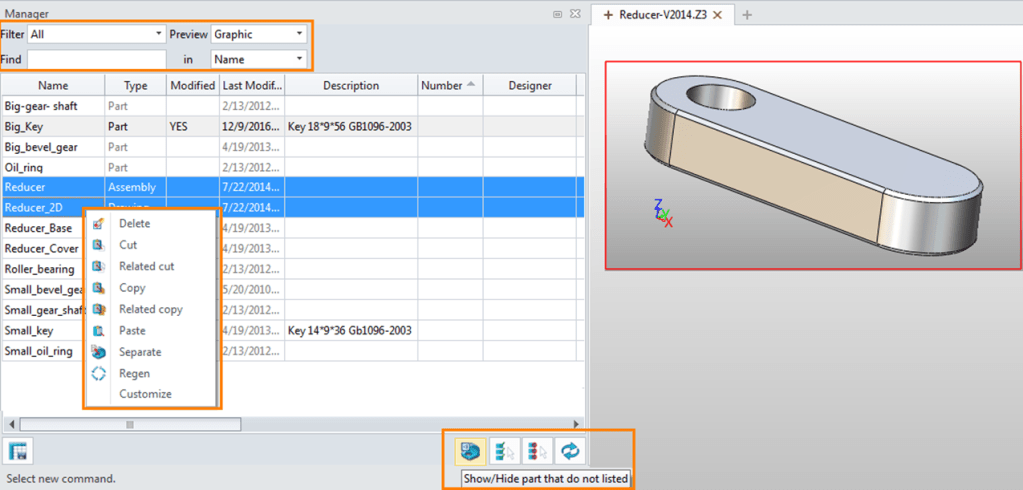
Object Manager
•Search the file & Preview the model/part attribute/ assembly tree
•Open the object by double click
•Add/edit part attributes by two separate clicks, such as : designer, number, description
•Copy/ Paste/ Cut/ Separate the object
•Show/hide part that do not listed
Now we don’t want to start confusing those above feature will make sense as you create your assemblies.
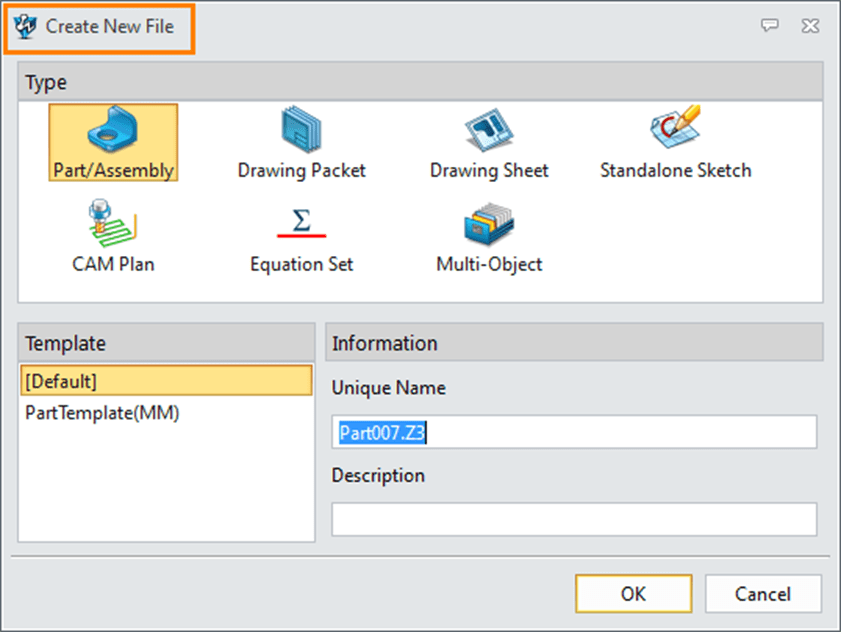
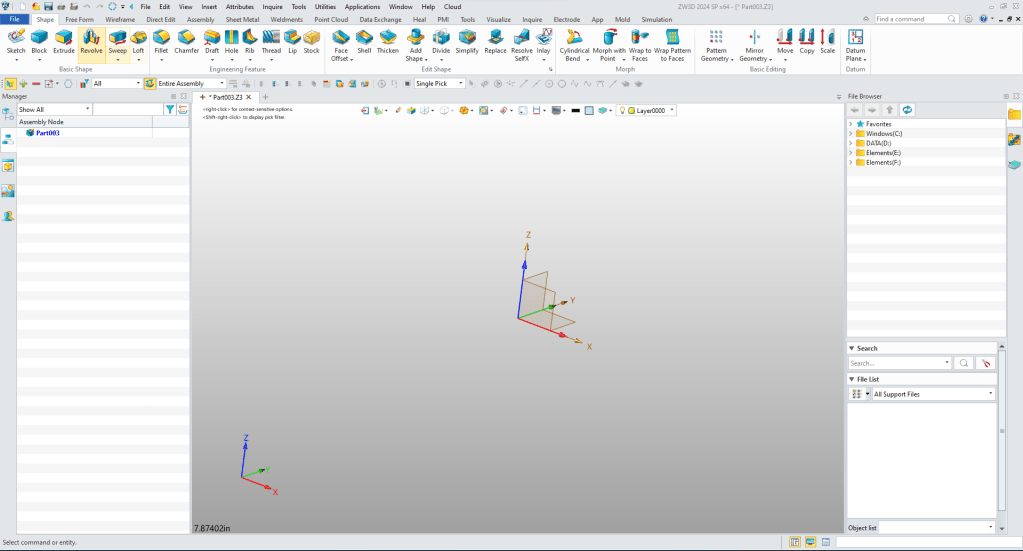
Opening a File
You gave a few options when opening a file. You select New and this dialog box comes up an you have a few options. We will select Part/Assembly.

Here you can start creating a part.
Now if you want to start with an assembly you right click on the part part file and select “New to Insert” name the part. Now you can keep adding parts as you create them or add them as name holders to define later. For now we will work with one part. You can insert it later if required.
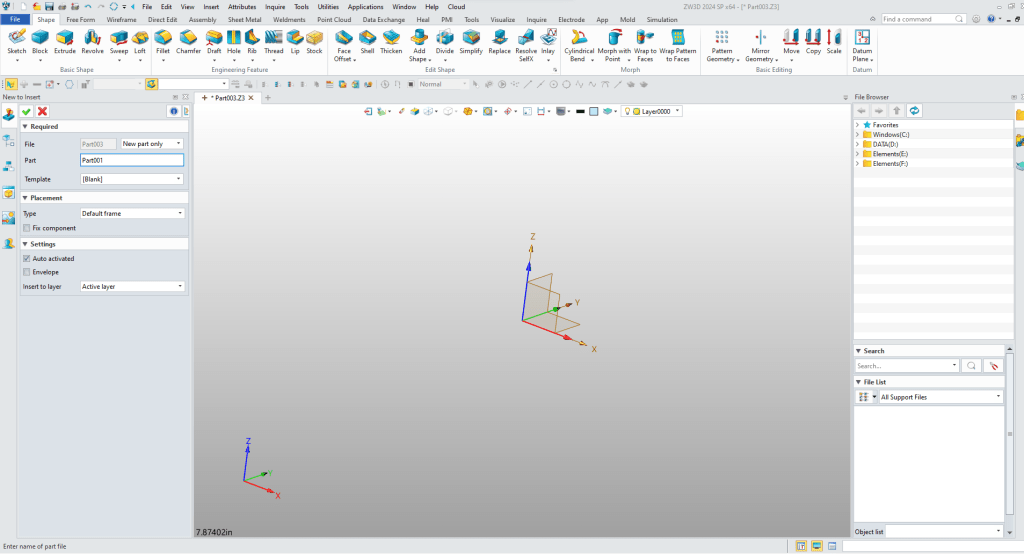
Here is an example of creating an assembly in the Multi-Object Environment.

Using Sketching to Create Parts
Most of you will start by sketching. ZW3D has very functional sketching system. I will open a sketch. I will not go into sketching. I am sure many are very familiar with it. Here is an example of “StreamLined Sketching”
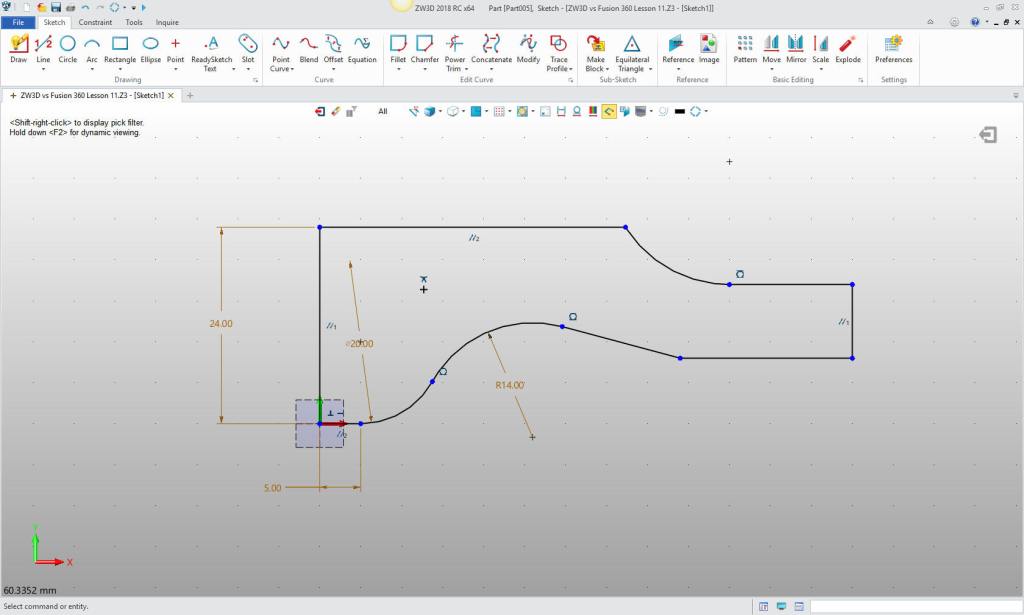
You pick a plane and it take you to the sketching module.
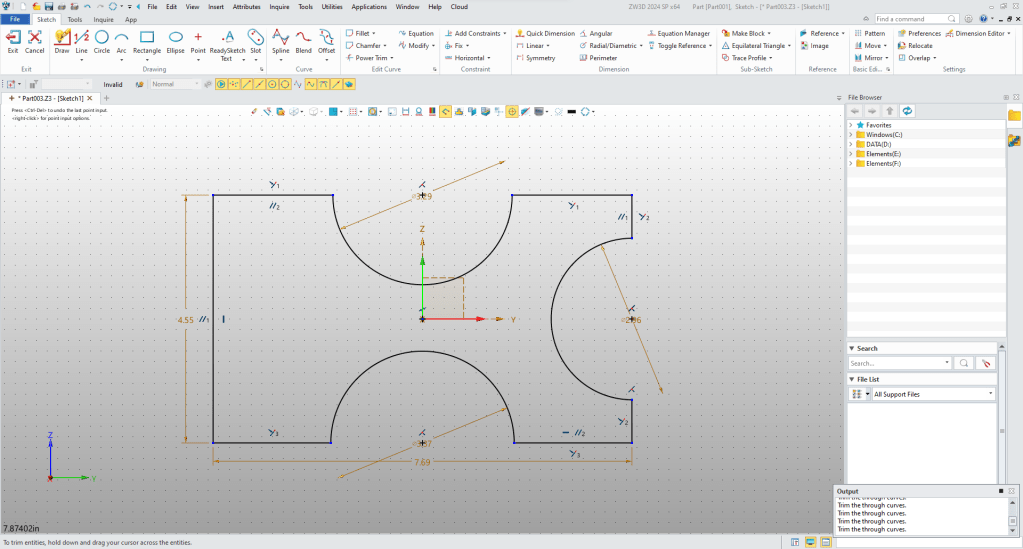
You exit the sketch and you an using any of the modeling tools Extrude. Revolve, Sweep or Loft. In this case we will use extrude. Now you can start modeling,
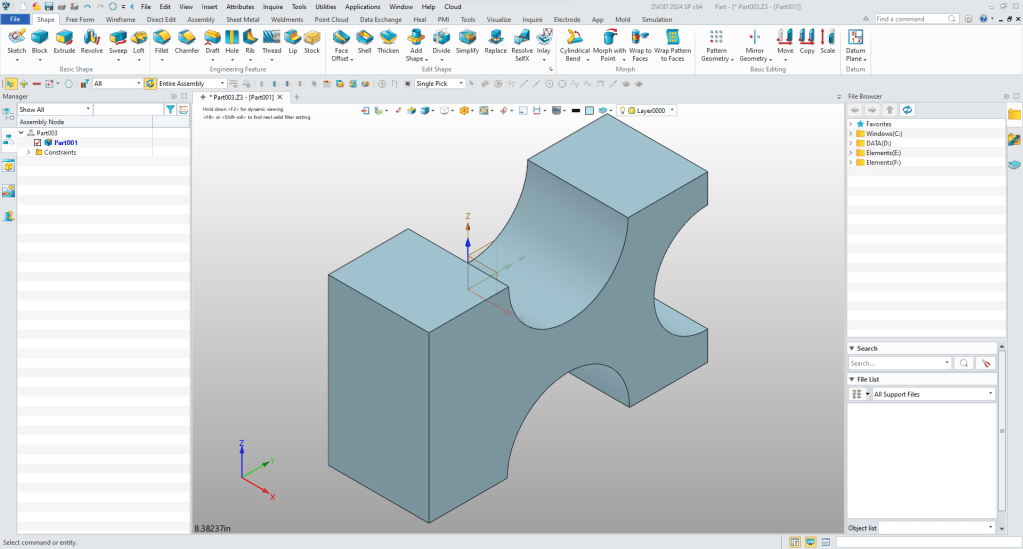
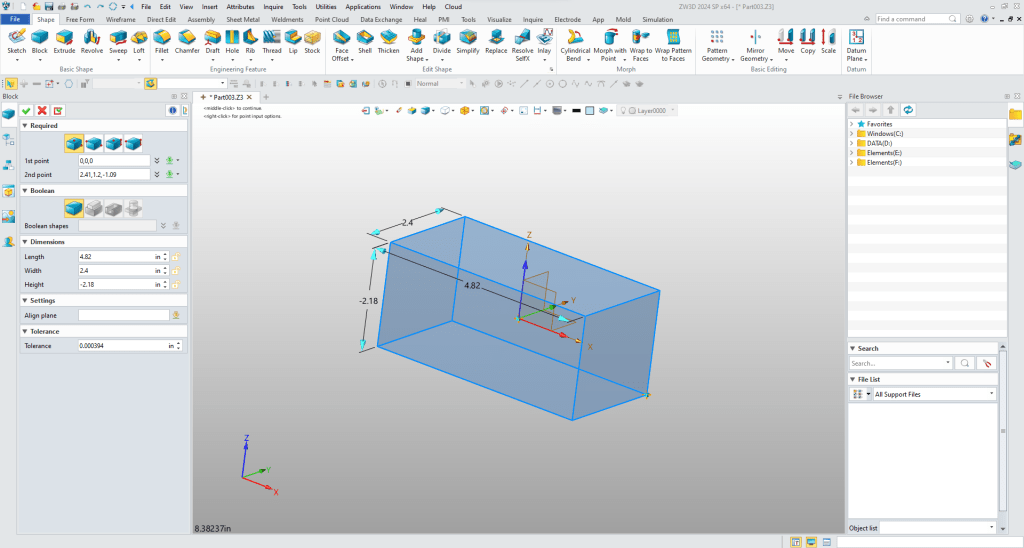
Using Primitives to Create Parts
You can see the different shape you have to use. What this basically does is to eliminate the need to sketch. It take a bit of time to master, but it can reduce modeling time.

You select one of the shapes, we will select the block and place it at X0Y0Z0. You And just pull it or put in the explicit dimensions. You have some options in placing and behavior. It is a new fun way to design.
I think that will get you going. If you have questions. I am available after 5 AM to around to noon PDT for questions. We can share screens on Skype.
Joe Brouwer 206-842-0360
We sell and support IronCAD and ZW3D Products and
provide engineering services throughout the USA and Canada!
If you are interested in adding professional hybrid modeling capabilities or looking for a new solution to increase your productivity, take some time to download a fully functional 30 day evaluation and play with these packages. Feel free to give me a call if you have any questions or would like an on-line presentation.
For more information or to download IronCAD
Joe Brouwer
206-842-0360
sales@tecnetinc.com
